HOLE-BY-HOLE
- 1 Cattail Hollow - Par 4
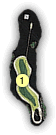
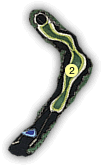
- 2 Around the Bend - Par 5
- 3 Drumlin - Par 4
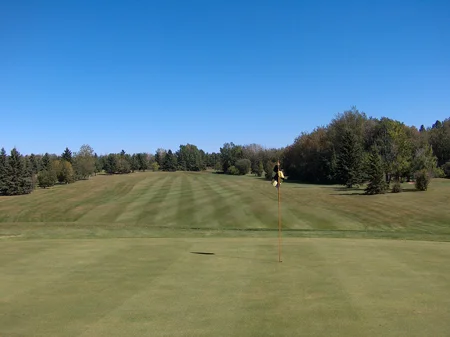
- 4 Green High - Par 4
- 5 Red Winged Blackbird - Par 3
- 6 Dogleg - Par 4
- 7 Heartbreak Meadow - Par 4
- 8 Creek Hollow - Par 4
- 9 Purple Martin - Par 4
- 10 Many Springs - Par 5
- 11 Dragon Fly - Par 3
- 12 Barranca Ravine - Par 5
- 13 Beautiful Baby - Par 3
- 14 Penny Lane - Par 3
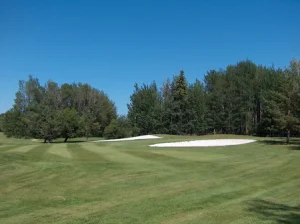
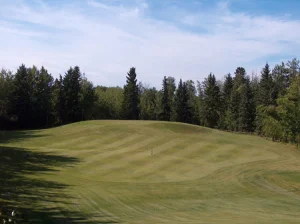
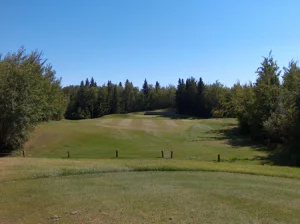
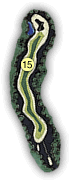
- 15 Charlie’s Summit - Par 4
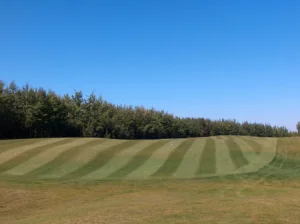
- 16 Uphill Battle - Par 5
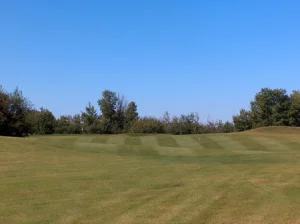
- 17 Just Out of Reach - Par 4
- 18 Shattered Nerves - Par 4
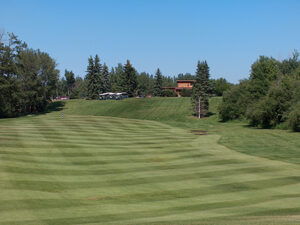
Great starting hole, elevated tee to a wide landing zone, 3, 5, or 7 wood are good selections here. Pitching wedge or sand wedge to an elevated green. Watch for the water hazard to the right of the green.
BLUE – 274 Yards
WHITE – 270 Yards
RED – 265 Yards
HANDICAP – 16
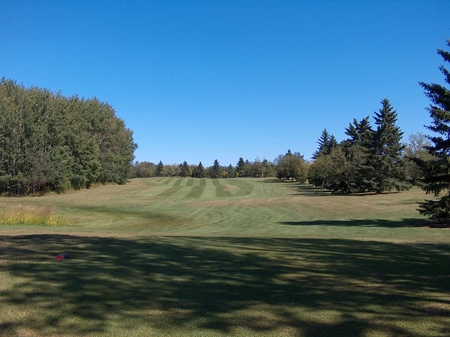
The tee shot with a draw sets the golfer up for a short iron to the 150 marker. The third shot is from an elevated position over a small valley to a large green guarded by a large bunker on the right front.
BLUE – 491 Yards
WHITE – 481 Yards
RED – 425 Yards
HANDICAP – 2


Short par 4, driveable by few. Watch for the large bunker on the right front of the green. An accurate wedge to a wide, but short in depth green is required. Watch for the hidden bunker behind, left of the green.
BLUE – 302 Yards
WHITE – 300 Yards
RED – 295 Yards
HANDICAP – 18
Let the driver out on this hole with a wide fairway to an elevated green. Second shot requires accuracy, the green is longer in width than depth. Short, the ball may roll back down the hill, too long, the ball may carry the wooden tie wall for an unplayable lie.
BLUE – 312 Yards
WHITE – 310 Yards
RED – 305 Yards
HANDICAP – 4
Pretty par 3, with two huge bunkers guarding the left and right front of the green.
BLUE – 172 Yards
WHITE – 170 Yards
RED – 136 Yards
HANDICAP – 14
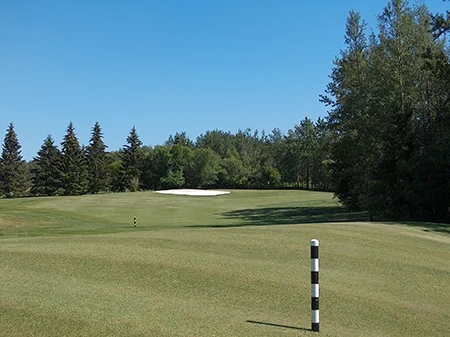
An iron off the tee is a good choice on this par 4 with a narrow fairway to an undulating landing zone. Depending on the location of the pin the second shot may require a carry of the large bunker on the left front of this sloped green.
BLUE – 320 Yards
WHITE – 305 Yards
RED – 295 Yards
HANDICAP – 12
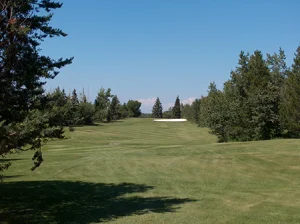
Heartbreak Meadow is the name of this hole for good reason, out of bounds on the right with prevailing winds blowing left to right. Again, depending on pin location, a carry of the large bunker on the right front of the green may be required.
BLUE – 315 Yards
WHITE – 310 Yards
RED – 268 Yards
HANDICAP – 10
Great par 4, out of bounds on the right with a fairway bunker on the right side of the fairway landing zone. A water hazard runs down the left side of the fairway landing zone. Second shot to an elevated green requires accuracy to a green guarded by a large bunker on the left front. This is the smallest green on the course.
BLUE – 310 Yards
WHITE – 305 Yards
RED – 226 Yards
HANDICAP – 6
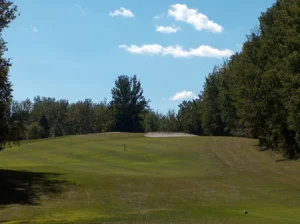

Don’t be fooled by this uphill short par 4. Two large bunkers both right and left of the green front attract attention. Second shot is usually a wedge from a sloped lie to this elevated green.
BLUE – 250 Yards
WHITE – 245 Yards
RED – 203 Yards
HANDICAP – 8


Accuracy with the driver is required of this tee shot, with out of bounds on the right. Length is required for position for the second shot. A fairway wood and a short iron is required to a green protected by three large grass bunkers.
BLUE – 557 Yards
WHITE – 337 Yards
RED – 435 Yards
HANDICAP – 7

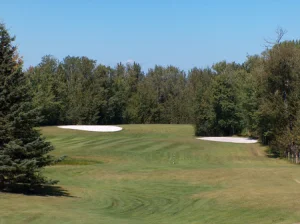
The longest par 3 on the course, with a carry over water from an elevated tee. A very solid par 3.
BLUE – 224 Yards
WHITE – 216 Yards
RED – 156 Yards
HANDICAP – 11

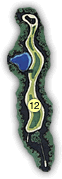
Alberta’s toughest par 5. 225 to 240 is perfect length off the tee to carry the tree filled ravine. The second shot requires a long iron down to the flat at the 150 marker. The landing zone at the 150 marker is protected by a large water hazard on the left. The approach shot is to an elevated green protected by three grass bunkers.
BLUE – 608 Yards
WHITE – 491 / 600 Yards
RED – 486 Yards
HANDICAP – 3

Short and pretty par 3 from an elevated tee to a large elevated green. Club selection varies from sand wedge to 8 iron.
BLUE – 148 Yards
WHITE – 139 Yards
RED – 77 Yards
HANDICAP – 17

Beautiful par 3, tee shot from an elevated tee to an elevated green guarded by three large grass bunkers. Backdrop for this green is a 7-foot high stone wall.
BLUE – 187 Yards
WHITE – 179 Yards
RED – 89 Yards
HANDICAP – 13

Long par 4, length is required off the tee to get to the bend in this downhill dogleg. Second shot into the green is from an elevated position, club selection will range from 3 wood to 7 iron. The green is surrounded by three large grass bunkers and a water hazard to the left.
BLUE – 454 Yards
WHITE – 360 / 445 Yards
RED – 355 Yards
HANDICAP – 5
A solid par 5, stay to the left of center on this uphill tee shot. Some golfers get to this green in two. Third shot is normally a short iron or wedge to a large green. There are no bunkers or water hazards on this hole.
BLUE – 548 Yards
WHITE – 537 Yards
RED – 439 Yards
HANDICAP – 9
A good birdie hole before the demanding par 4 18th. A well-placed tee shot from an elevated tee sets the golfer up for a short iron or chip to a small green guarded by three grass bunkers.
BLUE – 310 Yards
WHITE – 303 Yards
RED – 221 Yards
HANDICAP – 15

A well-placed tee shot from an elevated tee to a fairway with a narrow landing zone is required here. A water hazard splits the fairway at the 150 marker. The green is elevated and guarded by three grass bunkers. Accuracy with a mid iron is required, the green is longer in width than in depth. This is a great finishing hole!
BLUE – 427 Yards
WHITE – 420 Yards
RED – 343 Yards
HANDICAP – 1
Book Tee-Times
on our Mobile App
The app is the easiest way to book your next round with Silver Sands Golf Resort. Be sure to turn on notifications to get special offers, promotions, and alerts throughout the season!

